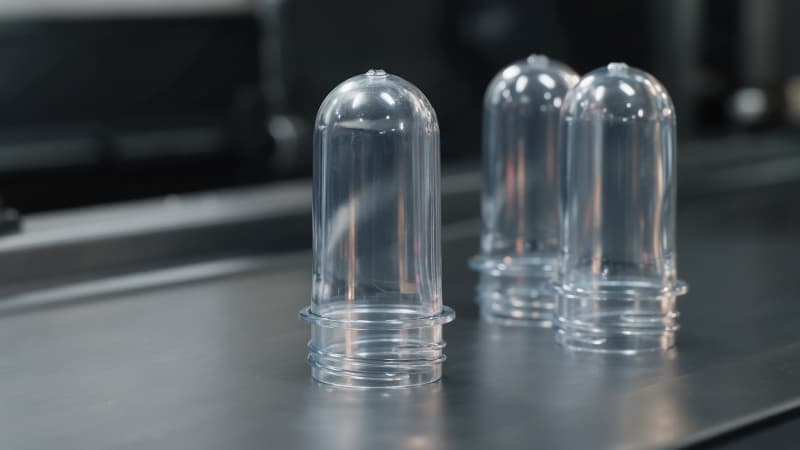
A cosmetic bottle can look perfect at the sampling stage and still fail later in blow molding, surface finishing, transportation, or formula compatibility. The reason is simple: the final bottle inherits many of its characteristics from the PET preform created during injection molding.
A PET preform is the injection-molded intermediate that is later stretch-blown into the final bottle. That means the preform is not just a temporary step in production. It is one of the earliest quality gates in the entire packaging process.
We have seen this firsthand. In one European skincare project, a PET bottle passed visual inspection but developed fine silver-like lines and cloudy spots after electroplating. In another, bottles that passed room-temperature inspection cracked during temperature cycling. We also once recommended changing a preform gate design to reduce unnecessary formulation-contact risk.
This guide explains what cosmetic brands should check before approving PET preforms for mass production, from neck and gate design to material preparation, residual stress, and real-world testing.
Why Preform Quality Can Affect the Finished Cosmetic Bottle
The production chain looks straightforward: PET resin → Injection molding → PET preform → Stretch blow molding → Surface finishing → Filling → Transportation
The important part is that a problem introduced at the preform stage may not become visible immediately. A small internal defect can become more obvious after stretching, while dimensional inconsistencies can affect the bottle’s shape and wall distribution. Even a gate decision that looks purely cosmetic can later become a formula-compatibility issue after filling.
This is why approving a preform based only on its appearance can be risky. The effect is also cumulative. Once a defective preform has gone through blowing, coating, electroplating, printing, or filling, the cost of finding and correcting the problem increases dramatically.
A real example from our experience illustrates this well. We once worked with a European niche anti-aging skincare brand developing a high-concentration retinol serum in a premium PET bottle with an electroplated shoulder ring. The approved preform and blown bottle looked excellent: the transparency was good, the weight was accurate, and the dimensions were within specification.
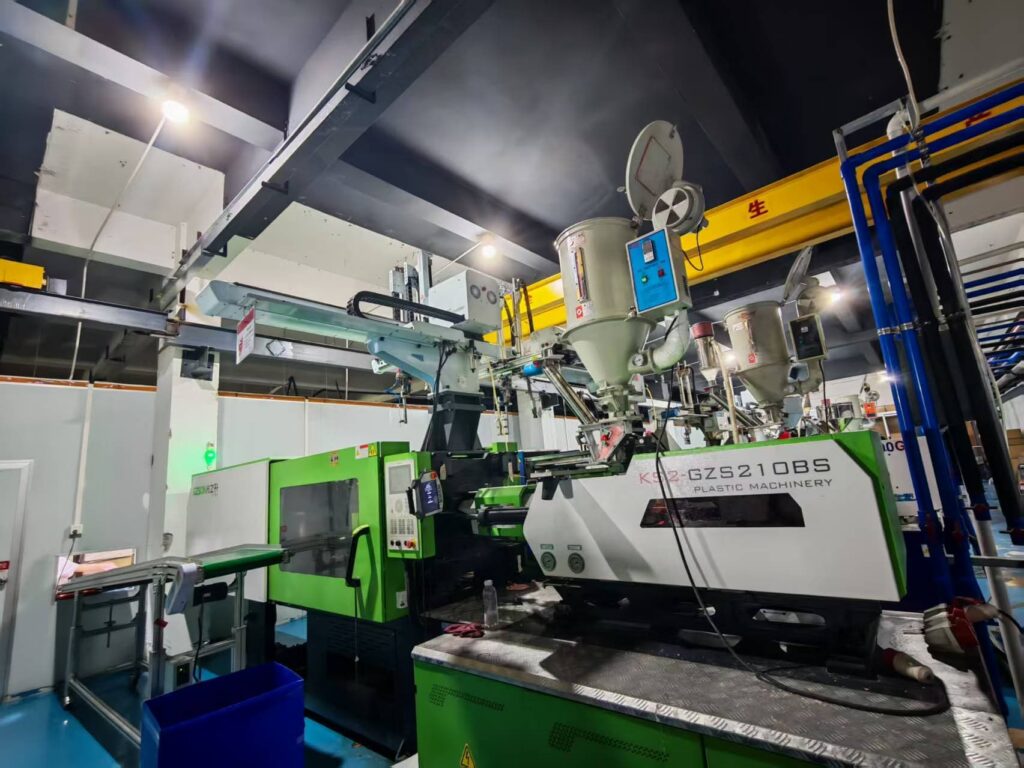
The problem appeared only after electroplating. Fine silver-like lines and cloudy white spots appeared throughout the bottle. We initially suspected the electroplating process, but two rounds of rework produced the same result. After tracing the problem backward through the production chain, we found that the resin had not been dried sufficiently before injection molding.
The affected preforms contained tiny defects that were difficult to see initially. After blowing and electroplating, light reflection made them highly visible. We scrapped the affected preforms, corrected the drying process, and remade the bottles. The lesson: a preform can pass visual inspection yet still contain a problem revealed only by downstream processing.
Three Preform Design Decisions Cosmetic Brands Should Make Before Production
Before discussing inspection, it is worth looking at the decisions that should be made during preform development. These choices affect not only manufacturing efficiency, but also sealing, appearance, formulation compatibility, and the performance of the finished bottle.
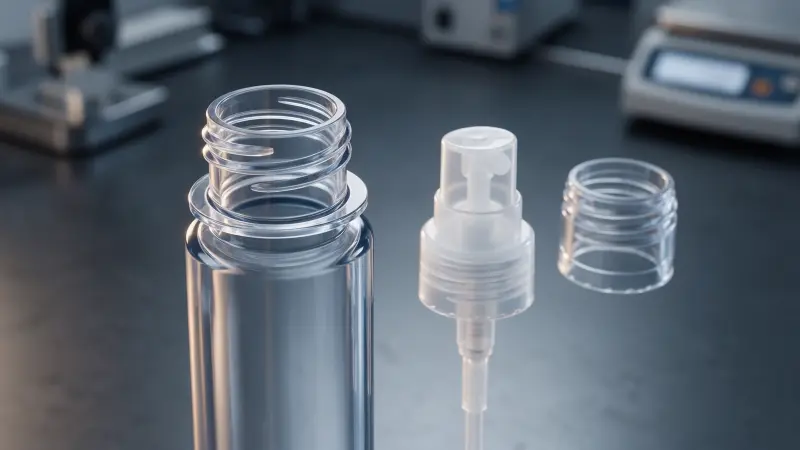
Neck Finish: Match the Preform to the Closure System
The neck finish determines how the bottle interfaces with the cap, pump, or other dispensing component. For cosmetic packaging, the key question is not simply whether the neck looks correct. You also need to consider the actual closure system, sealing structure, tolerances, and dispensing requirements.
| Preform consideration | What the cosmetic brand should verify |
| Neck geometry | Dimensional consistency and compatibility with the closure |
| Sealing structure | Whether the sealing surfaces provide the required leak resistance |
| Thread design | Correct engagement and torque with the actual cap or pump |
| Closure fit | Fit testing with production-intent components |
| Formula requirements | Whether the packaging system provides the required level of containment |
For example, a design using an inner sealing surface may be considered when a dispensing system requires tighter internal sealing control. A threaded outer-neck configuration may work well for conventional closures. The important point is that neither option should be approved based on the bottle drawing alone. The neck and closure need to be tested as a system.
Gate Position: Appearance Is Only One Part of the Decision
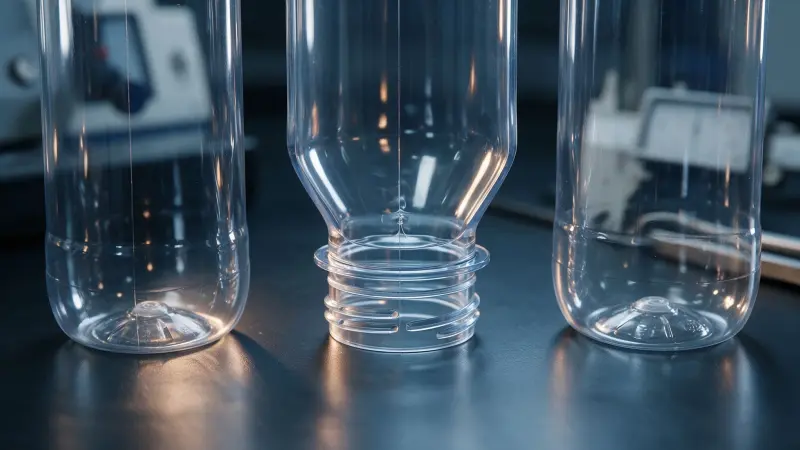
The gate is where molten plastic enters the cavity during injection molding. In a bottle preform, the gate position can influence both the external appearance and what the finished bottle exposes to the formula.
A bottom outer gate leaves the gate mark on the exterior of the bottle base. This can be a practical option when the surface treatment can visually integrate or conceal the mark, while keeping the interior wall smooth.
A bottom inner gate places the gate area on the inside of the bottle base. This can provide a cleaner external appearance on highly transparent bottles, but it also means the gate area may remain in direct contact with the filled formula.That distinction matters for cosmetic products with demanding formulations.
Real-World Example: When a Cleaner Bottle Bottom Was Not the Better Design
A skincare brand developing a transparent gradient bottle for an approximately 8% glycolic-acid serum originally wanted a bottom inner-gate preform. Their concern was purely visual: an external gate mark would interrupt the clean, premium appearance of the transparent bottle.
We recommended changing the design. Because the inner gate would remain on the inside of the bottle, the gate area would be exposed to the acidic formulation for an extended period. Rather than assuming that this would be acceptable, we recommended evaluating the packaging-formula combination and avoiding unnecessary formula contact at the gate area.
The final solution used a bottom outer gate combined with a subtle frosted gradient effect around the base. The gate mark was visually minimized, while the inside of the bottle remained smooth. The customer later completed a three-month accelerated stability test. The formula showed no visible clouding or compatibility issues, and the mass-production run completed without the same concern.
This is a good example of why preform design should be considered together with the formula and the surface finish. Research on cosmetic packaging also shows why packaging-formula compatibility deserves its own validation rather than being treated as an assumption. Studies have examined migration and packaging–formula interactions under different cosmetic-relevant conditions.
Four Injection-Stage Checks to Complete Before Mass Production
You do not need to become an injection-molding engineer to evaluate whether a cosmetic preform is ready for mass production. As a buyer, you need to know which process variables can create downstream risks and what evidence you should ask the supplier to provide.
Check Wall Thickness and Weight Consistency
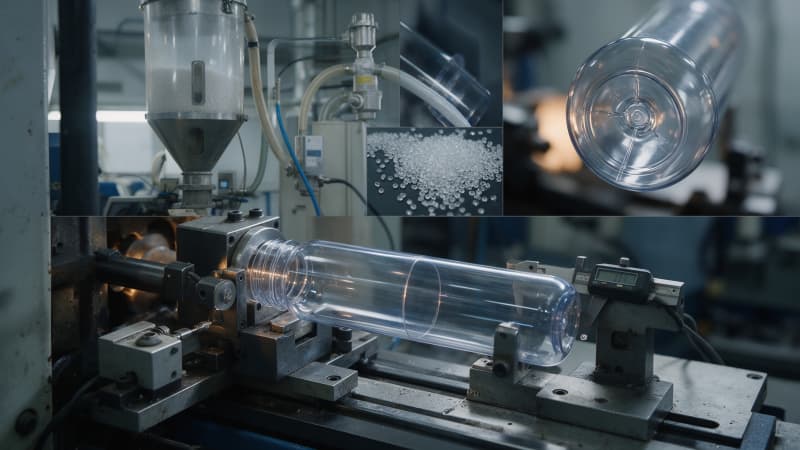
A preform should not be evaluated only by its total weight. Two preforms can have the same nominal weight but different material distributions. If the wall thickness is uneven, the imbalance can carry into the stretch-blow process and influence the distribution and mechanical performance of the finished bottle.
Ask your supplier how they control preform weight, dimensions, cavity consistency, and wall-thickness distribution across production. For a new bottle, project-specific tolerances are more meaningful than applying one universal number to every bottle. Bottle geometry, preform design, resin characteristics, and the blow-molding process all influence what tolerance is appropriate.
Check Resin Condition and Drying Control
For PET and other moisture‑sensitive polymers, drying is a process‑control concern, not merely a preparatory step. Per Eastman’s injection‑molding guidance, proper drying ensures shot‑to‑shot consistency and part performance, as moisture causes hydrolytic degradation during processing. Optimal drying conditions vary by resin grade.
For buyers, the practical questions are:
- What resin grade is being used?
- How is the drying process controlled?
- How is the moisture condition verified?
- Is the material traceable by batch?
Do not treat “the resin was dried” as sufficient evidence. Drying performance depends on the material, equipment, temperature, time, airflow, dew point, and actual moisture condition. Your supplier should be able to explain the process in a way that can be tied back to the specific resin being used.
Inspect the Gate and Parting Line
The gate and parting line are minor features yet critical for downstream assembly and finishing; rough gates, sharp edges, or excessive flash can hinder subsequent operations, while poorly controlled molding details compromise surface appearance near the gate. Eastman’s guidance notes that gate geometry and processing conditions directly impact gate appearance and defects.
For cosmetic packaging, the acceptance criteria should be defined before mass production rather than decided visually after thousands of pieces have already been molded. A useful pre-production discussion should cover the target gate appearance, parting-line condition, trimming quality, and what constitutes an unacceptable burr, sharp edge, or visible molding defect.
Check Residual Stress Under Realistic Conditions
Residual internal stress is one of the easiest problems to miss because it may not be visible during a normal room-temperature inspection. A preform or bottle can look fine on the inspection table and still respond differently when exposed to repeated temperature changes or other stresses.
This matters particularly for global cosmetic supply chains. Packaging does not experience only the climate of the destination market. It may also experience temperature changes during storage and transportation.
ASTM International, for example, maintains a standard practice for climatic stressing of packaging systems that is specifically intended to evaluate packaging under climatic conditions associated with actual distribution.
Real-World Example: Why a Room-Temperature Pass Was Not Enough
We once worked with a Southeast Asian sunscreen-spray brand whose samples passed normal inspection at room temperature. Appearance, dimensions, closure fit, and dispensing performance all looked acceptable.
We recommended a temperature-cycling test, but the customer initially questioned the need because the destination market was hot and they did not expect significant low-temperature exposure.
The risk was not the local climate. It was the logistics chain. We ran three rounds of internal temperature cycling using a 12-hour period at 40°C followed by 12 hours at 0°C. Approximately one-third of the bottles developed fine cracks during the test.
This was not a universal industry pass/fail standard; it was a project-specific test designed to challenge the packaging under conditions we considered relevant to the distribution risk. The result changed the conversation completely.
The important lesson was that passing a room-temperature sample inspection does not prove that a bottle will withstand real transportation and storage conditions. Eastman’s guidance also notes that residual stress and mold-temperature control need to be evaluated according to the individual application rather than treated as one fixed rule for every molded part.

What Should Be Included in Your Pre-Production Approval?
Before approving a PET preform for mass production, ask the supplier for evidence rather than relying only on a visual sample.
| Area | What to confirm before approval |
| Material | Resin grade, batch traceability, drying process, moisture control |
| Preform geometry | Weight, critical dimensions, wall-thickness consistency |
| Neck finish | Actual cap/pump fit, sealing performance, torque or closure requirements |
| Gate | Gate position, trimming quality, appearance, formula-contact considerations |
| Molding quality | Parting line, flash, bubbles, visible defects |
| Stress performance | Temperature-cycle or other project-specific stress testing |
| Final bottle | Blow-molding consistency and finished-bottle performance |
| Formula compatibility | Testing with the actual formula when formulation sensitivity warrants it |
The key is to test the packaging as a system. A neck finish cannot be approved independently of its closure. A gate cannot always be judged independently of the formulation. And a preform cannot be considered production-ready based only on what it looks like before blowing.
What We Control Before a Cosmetic Bottle Enters Mass Production
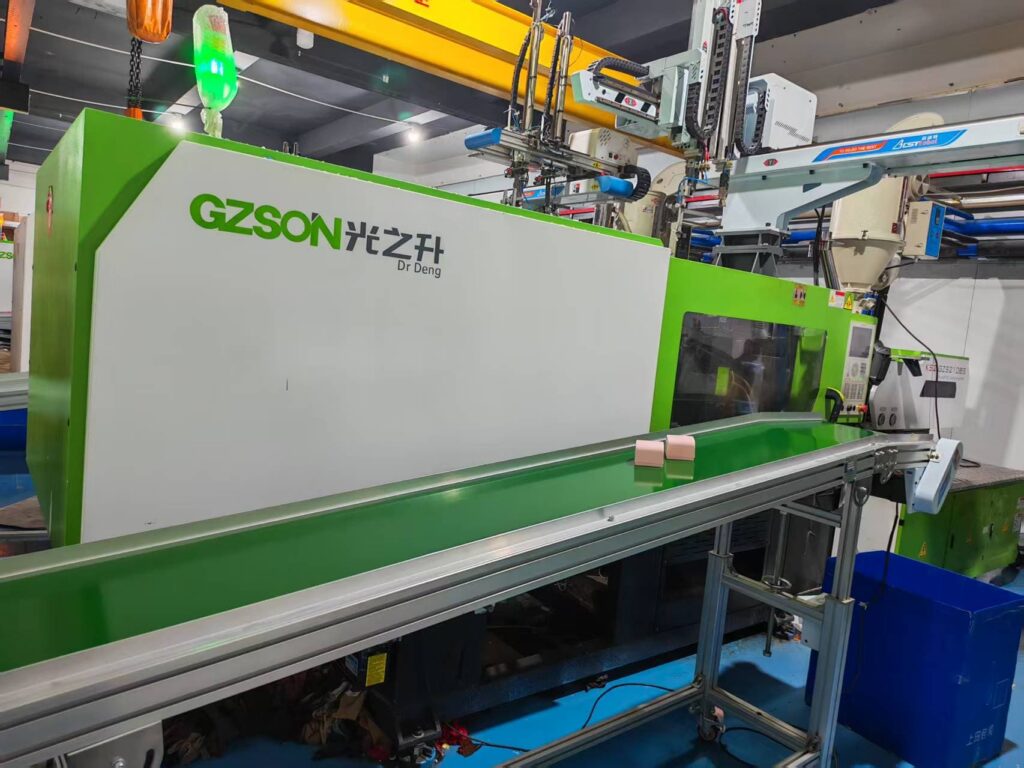
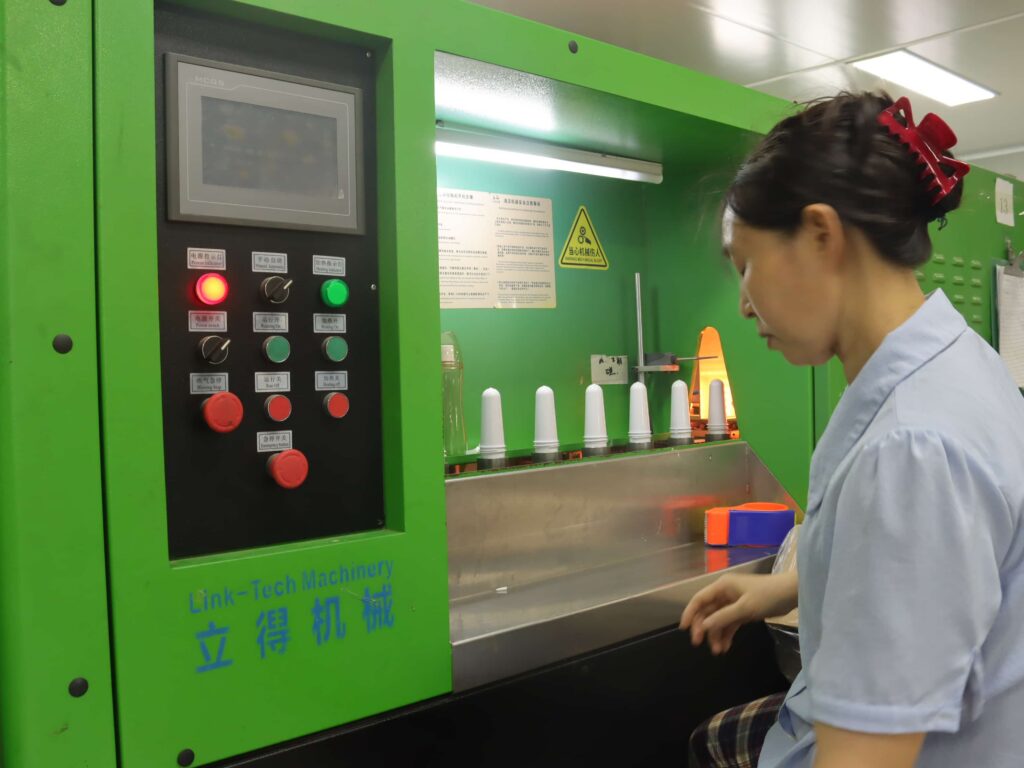
At XINDE, we treat preform production as a quality gate rather than simply an intermediate step before blow molding. That means our review starts with the bottle design and its intended use. We look at the relationship between the preform structure, closure system, filling formula, surface finish, and downstream manufacturing process.
During production, the focus is on consistent material preparation, dimensional control, gate and parting-line quality, and process stability. When a project has a higher risk profile, we also recommend validating conditions that a conventional room-temperature inspection will not reveal.
Most importantly, we believe supplier support should go beyond reproducing an approved drawing. A good preform design should work not only as a molded component, but as part of the complete packaging system.
Frequently Asked Questions
Can a PET preform pass inspection but still cause defects after electroplating?
Yes. Microscopic defects caused by issues such as insufficient resin drying may be difficult to see in the preform but become highly visible after blow molding and electroplating, so downstream processing should also be considered during pre-production approval.
Is a room-temperature test enough to approve a PET preform for mass production?
Not always. A bottle can pass normal visual and dimensional checks but still develop cracks under temperature changes, so brands should consider project-specific temperature or environmental testing based on the actual transportation and storage conditions.
How should brands choose between an inner-gate and outer-gate PET preform?
Consider both bottle appearance and formula contact. An outer gate may leave a visible mark but keeps the gate away from the formula, while an inner gate can provide a cleaner exterior but may require additional compatibility evaluation for acidic or sensitive formulations.
Conclusion: Validate the Preform Before You Validate the Bottle
A cosmetic bottle becomes finished only after blow molding, coating, electroplating, filling and transportation, yet many decisions governing smooth downstream operations are locked in at the preform stage; buyers should therefore ask not merely “Does this preform look good?” but “Has this preform been validated for the finished bottle’s real‑world conditions?”
That means considering the resin condition, dimensions, gate design, neck compatibility, residual stress, downstream finishing, formula contact, and logistics environment before mass production is approved.
Get Expert Packaging Engineering Support For Your New Bottle Project
If you are developing a new cosmetic bottle, share the bottle design, formula requirements, closure system, and target finish with our packaging engineering team. We can help identify potential preform-related risks before they become expensive downstream problems.
Our cosmetic bottle production series continues with a deep dive into cosmetic bottle blow molding. We will break down critical checks brands need to carry out before mass production. Look out for our next post.