A PET preform may pass incoming inspection yet still yield defective cosmetic bottles. Blow molding does not merely stretch the preform into shape: it combines heating, stretching, blowing, cooling, bottle geometry, and process control, where tiny variations turn into visible defects on finished containers.
We saw this firsthand with a Nordic brand developing a clear PET bottle for a botanical oil. The preforms passed inspection, but after trial blowing, the shoulder showed a clear difference in transparency from one side to the other. The root cause turned out to be a temperature difference of only about 2°C in one infrared heating zone.
This article continues our preform injection molding guide and looks at the next critical quality gate: cosmetic bottle blow molding. We will focus on what brands should check before mass production, from manufacturability and wall thickness to neck alignment, residual stress, and downstream finishing.
Why Blow Molding Is a Critical Quality Gate
The production chain may look simple: PET resin → Preform injection molding → Blow molding → Surface finishing → Filling → Transportation
But the blow-molding stage determines whether the preform can become a bottle with consistent dimensions, material distribution, appearance, and mechanical performance.
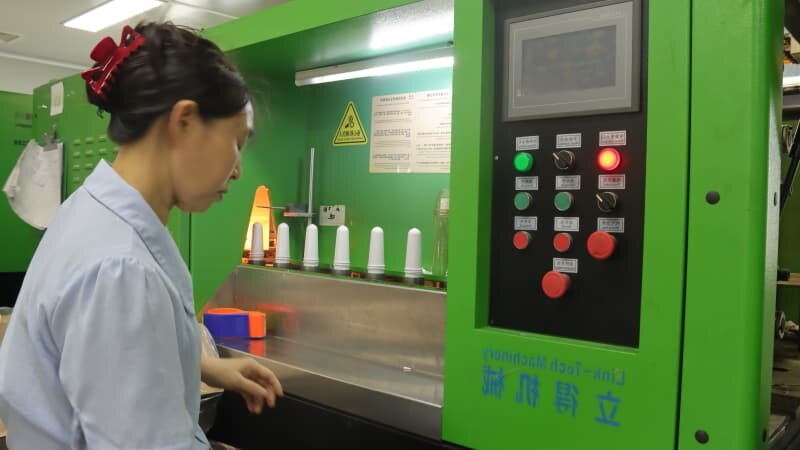
In PET injection stretch blow molding, the preform is heated, stretched, and expanded within a mold. The initial preform geometry, preform temperature, and stretch-blow balance all affect the final bottle’s thickness distribution and material properties. This explains why a sound preform cannot guarantee a quality bottle.
A problem that looks minor during preform inspection can become much more obvious after the material is reheated and stretched. Even when the preform itself is within specification, poorly balanced heating or stretching conditions can create uneven wall distribution in the finished bottle.
The consequences can also continue into later processes. A bottle with inconsistent wall thickness or geometry may create problems during coating, electroplating, printing, or hot stamping.
For a premium cosmetic bottle, the real quality target is therefore not simply “the bottle came out of the mold.” It is “the bottle can consistently move through every downstream process without creating new defects.”
Core Blow-Molding Decisions: Match the Process to the Bottle
One-Stage vs. Two-Stage Blow Molding
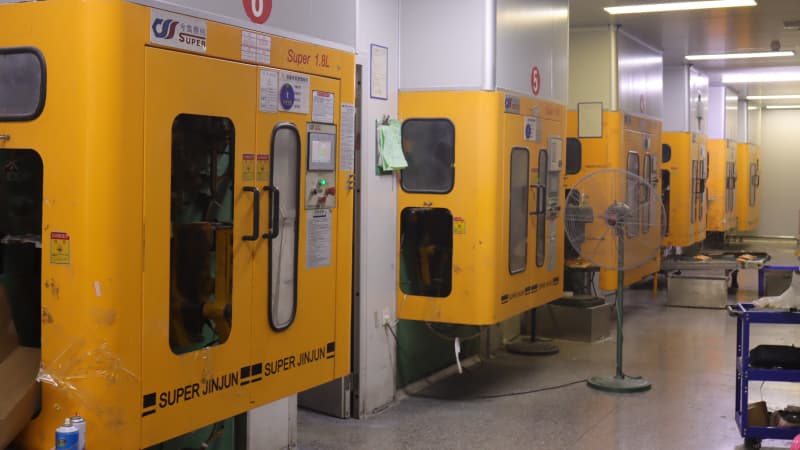
For PET containers, brands may encounter two main stretch-blow molding routes. In a single-stage process, preform injection and stretch blow molding are integrated into the same production system. In a two-stage process, preforms are produced separately, cooled, and later reheated before stretch blow molding.
Neither process should automatically be treated as the “better” option. The appropriate choice depends on factors such as bottle design, production volume, equipment capability, tooling requirements, and the required level of production flexibility.
| Consideration | One-Stage Process | Two-Stage Process |
| Production flow | Preform injection and blowing integrated | Preforms made separately and reheated |
| Production flexibility | Useful for specialized or variable formats | Well suited to established high-volume production |
| Preform handling | No separate preform storage between stages | Requires preform handling and reheating |
| Key buyer consideration | Equipment capability and project flexibility | Production scale, preform logistics and reheating control |
For a cosmetic brand, the more useful question is not “Which process is more advanced?” but: Which process gives this particular bottle the required quality and repeatability at its intended production volume?
Bottle Manufacturability: Can Your Design Be Blown Reliably?
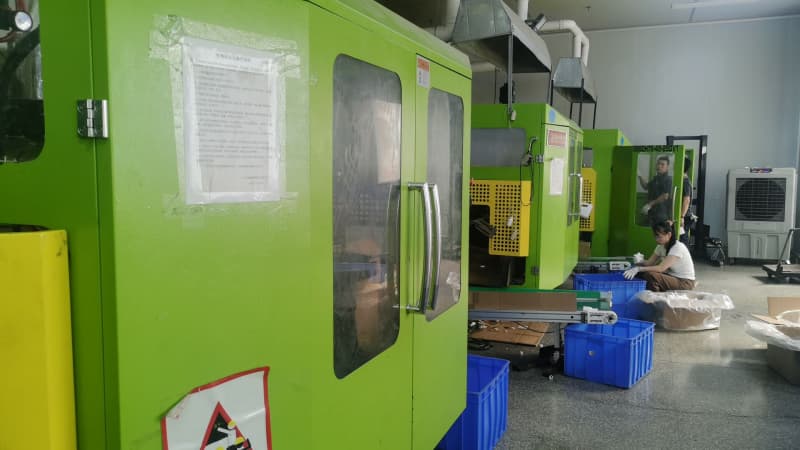
A bottle may look great on screen yet prove hard to manufacture. Deep grooves, sharp corners, narrow sections, and abrupt geometry changes disrupt material distribution during stretching, causing thin spots and stress concentration. A manufacturability review is therefore recommended before mold finalization.
Real-World Example: A Deep Groove That Was Too Deep to Blow Reliably
A body-care brand developing an exfoliating lotion bottle came to us with a distinctive ring-shaped groove around the bottle. The design team wanted the groove for both brand recognition and grip.
Our engineering team immediately flagged the geometry. A deep inward groove requires the softened PET to stretch into a recessed area of the mold. If the transition is too sharp, the material may not distribute evenly around the groove, leaving the edge significantly thinner than the surrounding wall.
We recommended three changes: reduce the groove depth by about half, replace sharp corners with R3-or-larger rounded transitions, and locally reinforce the corresponding preform area so that enough material remained after stretching.
The customer initially worried that the changes would weaken the visual identity of the bottle. The trial-blown samples showed otherwise. The rounded transitions actually gave the groove a cleaner appearance, while drop and temperature-cycle testing showed no thin spots or cracks in the modified area.
The lesson is simple: A bottle should be designed for manufacturability as well as appearance. A design review before tooling is usually much cheaper than discovering a structural problem after the mold is completed.
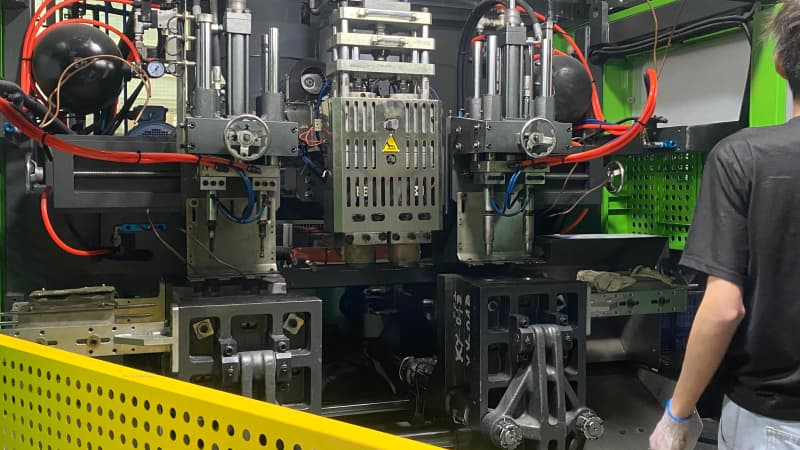
Four Blow-Molding Quality Checks Brands Should Complete Before Mass Production
You do not need to understand every machine parameter to evaluate a blow-molded bottle. What matters is knowing which characteristics can affect the finished packaging and asking your supplier how they verify them.
Check Wall Thickness Distribution
Do not judge wall thickness by the average number alone. The important question is where the material ends up after stretching. Shoulder, base, corners, grooves, and other highly stretched areas can behave very differently from the main bottle body.
Our Nordic facial oil project illustrates this. The incoming PET preforms passed eccentricity, appearance, and material quality checks. Yet during trial blowing, the bottle shoulder showed uneven transparency under strong light — clear on one side, hazy on the other. Rechecks confirmed the preforms remained within specification.
The actual cause was in the blow-molding process. The infrared heating zone corresponding to the shoulder was running about 2°C hotter than intended. The shoulder was therefore overheated before stretching and became thinner during the blow. The resulting wall-thickness difference reached about 0.22 mm.
We corrected the heating-zone balance and slowed the stretch-rod speed. After the next trial, the wall-thickness difference was reduced to below 0.1 mm for that project, and the shoulder showed uniform transparency.
This was a project result, not a universal industry tolerance. The important point is that preform inspection alone cannot validate the final material distribution. Studies of PET stretch blow molding likewise show that temperature and stretching conditions strongly influence final bottle thickness distribution.
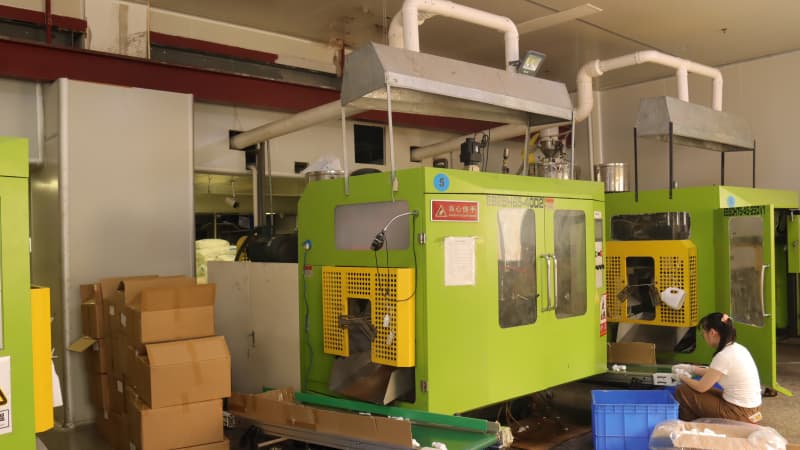
Check Neck Perpendicularity
A bottle neck can look perfectly straight to the naked eye and still be misaligned enough to cause problems later. This is especially important when the bottle will run through an automated filling line or use a pump, sprayer, or other dispensing component.
| What the buyer sees | What may actually be happening |
| Cap screws on normally | Neck may still be slightly misaligned |
| Bottle looks straight | Small angular deviation may not be visible |
| Manual dispensing works | Automated filling equipment may still jam |
| Sample looks acceptable | Production-line feeding or pump sealing may fail |
We once handled a spray-bottle project where the customer approved samples because the caps fit normally. Yet nearly half the bottles caused feeding problems at the filling plant. Further inspection showed neck deviation of around 0.5 mm. Our AQL was 0.3 mm, so a simple cap-fit test could not detect this issue.
That is why we use a dedicated perpendicularity gauge rather than relying only on manual inspection. For buyers, the practical question is: Has the supplier actually measured neck alignment, or have they only checked whether the cap can be attached?
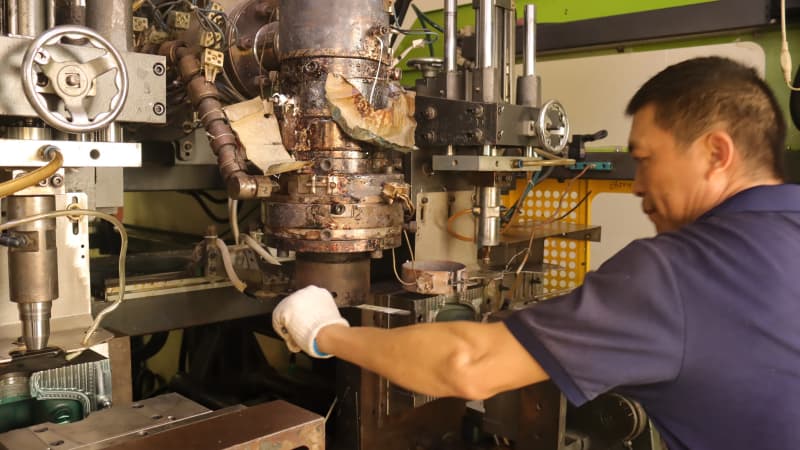
Check Residual Stress Created During Blow Molding
Residual stress should not be treated as a preform-only issue. During blow molding, the preform is reheated, rapidly stretched, expanded, and cooled. Changes in heating balance, stretch speed, and cooling conditions can create a new stress state in the finished bottle.
That stress can remain invisible during room-temperature inspection. We saw this with a Russian customer who wanted to increase production output and asked us to accelerate the cooling stage. The incoming preforms had already passed their stress inspection, and the finished bottles looked normal at room temperature.
The problem appeared only after shipment to a very cold region. The bottle shoulders began to crack during storage. Our investigation showed that the issue had developed during blow molding rather than originating from the incoming preforms. This is why a finished-bottle stress test should be considered separately from preform inspection.
For packaging exposed to significant temperature changes during distribution, project-specific environmental testing is especially relevant. ASTM F2825, for example, provides a practice for evaluating packaging systems under climatic stresses associated with distribution conditions.
The exact test conditions should always reflect the actual product and logistics environment rather than being copied blindly from another project.
Check Parting-Line Flatness and Surface Smoothness
The parting line is another area that buyers often underestimate. A customer may run a finger over the bottle and think, “It does not feel sharp, so it is fine.” But a slight ridge or mismatch can become much more obvious during later decoration.
At XINDE, we use both tactile inspection and magnified visual inspection to check whether the parting line is flat, aligned, and free from noticeable protrusion. Why does this matter?
Because later processes can amplify small surface defects. Coating may accumulate along a raised line, while hot stamping can lift or become irregular when applied across an uneven surface.
A defect that looks insignificant on an undecorated bottle can therefore become an irreversible appearance defect after finishing.
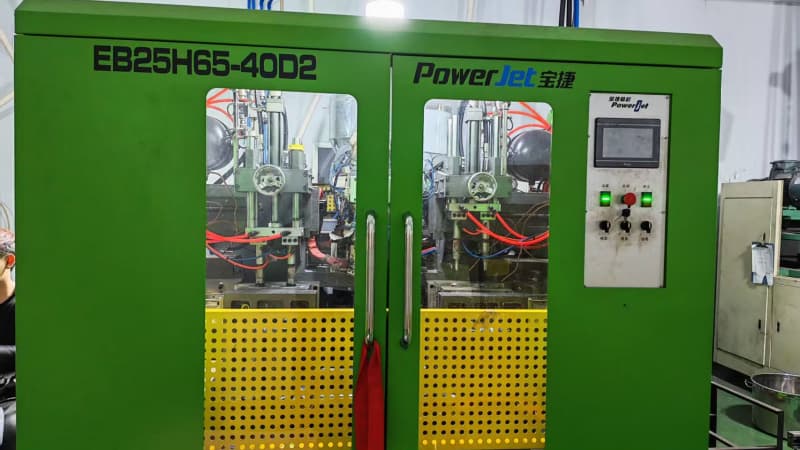
How Should Brands Approve a Blow-Molded Bottle Before Mass Production?
A useful approval process should connect the bottle sample to the conditions it will face after production.
| Quality area | What to verify | Why it matters |
| Wall thickness | Critical zones such as shoulder, base, grooves and corners | Helps control structural and appearance consistency |
| Neck alignment | Perpendicularity using a dedicated gauge | Supports filling, closure and dispensing performance |
| Bottle geometry | Key dimensions and shape consistency | Prevents assembly and appearance variation |
| Residual stress | Project-specific environmental or thermal testing | Reduces cracking risk during storage and transportation |
| Parting line | Flatness, alignment and surface condition | Protects later coating and decoration quality |
| Manufacturability | Trial blowing before mass production | Identifies design risks before full-scale production |
The key point: brands should approve more than visually appealing samples. Before sign-off, ask your supplier how critical dimensions are measured, which areas carry high risk, how production consistency is tracked, and whether the bottle has been tested for downstream and logistics conditions.
A good sample proves that one bottle can work. A successful mass-production trial needs to show that the process can keep making bottles that work.
How We Control Blow-Molded Bottle Quality Before Mass Production
At XINDE, we treat blow molding as a core quality gate between the preform and all downstream finishing processes. Our process review begins before mass production. We assess if bottle geometry suits blow molding, especially deep grooves, sharp transitions, narrow sections and other areas with tricky material distribution.
During trial blowing, we focus on heating, stretching, cooling, bottle geometry, and resulting wall distribution. We also check key features, including wall thickness and neck alignment, and conduct finished-bottle testing when projects need extra validation for transport or environmental conditions.
The goal is not simply to produce a bottle that passes visual inspection. It is to produce a bottle that can move reliably into coating, electroplating, printing, hot stamping, filling, and transportation without turning an early-stage process problem into a much more expensive downstream defect.
Frequently Asked Questions
Can a good PET preform still produce a defective bottle?
Yes. Blow-molding conditions such as heating balance, stretching speed, and cooling can change the material distribution and performance of the finished bottle, even when the incoming preform has passed inspection.
Can a bottle look fine but still fail on an automatic filling line?
Yes. Small neck misalignment may be almost invisible during manual inspection but can cause feeding, capping, or pump-fitting problems on automated equipment.
Should a custom-shaped cosmetic bottle be tested before final tooling?
Yes. A trial blow can reveal localized thin areas, deformation, or stress concentration around deep grooves and sharp corners before the design is committed to mass production tooling.
Conclusion: A Good Preform Is Only the Starting Point
Preform approval is not the end of quality control. It is the beginning of finished-bottle validation.
The blow-molding stage determines how the preform’s material is distributed, how accurately the bottle follows its intended geometry, and whether hidden problems such as misalignment or residual stress appear before the bottle reaches surface finishing.
Our experience has shown that sometimes the difference between a successful batch and an expensive failure can be surprisingly small—a 2°C heating difference, an over-deep groove, or a neck deviation that is invisible to the naked eye.
Partner With Us Before Finalizing Your Bottle Design
If you are developing a new cosmetic bottle, involve your packaging manufacturer before the design is finalized. A trial blow and manufacturability review can identify problems while they are still relatively easy to fix. Welcome to contact us for more information.
This post is part of our cosmetic bottle production series. Catch up on our previous deep dive into PET preform injection molding and its critical pre-mass-production quality checks. Next in the series, we explore cosmetic bottle spray coating, covering finish options, common defects, and key quality checks. Look out for our next post.